Sunday, October 30, 2011

We are moving in bit by bit.

Small victories, first we moved into the walk in closet... well our clothes did ;-) but today we moved our bedroom into the new room. The bathroom still needs finishing, cabinets are in, but the plumbing fixtures still need to be installed and we are still waiting for a custom glass shower enclosure to be made and installed. But on to the pictures.

Taken from the door

Taken from the bathroom
I love that light fixture, we will be getting matching lamps for the bedside tables as well. Here's a closer look:

In other news the kitchen is nearing completion as well. All the cabinet boxes are now installed, the crown mouldings will be installed before the doors are put on, but the doors have been delivered and are here.  The flooring saga is hopefully nearing an end. The tile company did a trial at their warehouse using a special sealer which basically leaves the floor looking wet which should leave the floor looking as beautiful as it should. You can see in the pictures of the kitchen below that the floor looks good when wet, but looks dull and bad when it dries (I was in the process of scrubbing the floor when I took the pictures). So we will be getting the sealer from the tile company tomorrow and doing a trial run on the master bath floor, hopefully this fixes the issues.
Pantry and fridge cabinet (on left) - looking toward garage entrance.
Fridge opening  and stove opening on the left (the microwave has since been installed too)
Rest of cabinets, you can see the floor wet and dry here too.

This last picture shows the extreme difference in the floor from dry to wet, hopefully this new sealer will keep this wet look and we can move on from all this drama with the floor.

Hopefully we will have finished kitchen pictures to share soon - fingers crossed.

Monday, October 24, 2011

The saga of the floor.

I have mentioned that we bought travertine tile floors for the kitchen and bathrooms, we love the flooring, but wow what a saga.

The floor was bought in June from Home depot for $32/8 sq ft bundle, it is a cobblestone pattern floor made up of 4 different sized tiles. The floor was bought and stored in the garage all summer. The saga starts a couple of weeks ago when we saw the same tile at home depot on sale for  $23/bundle... 91 days after having bought the floor... you guessed it Home Depot has a 90 day price guarantee, anyone that knows me knows that I didn't just take that answer. It took a bit of talking but I got my money back.

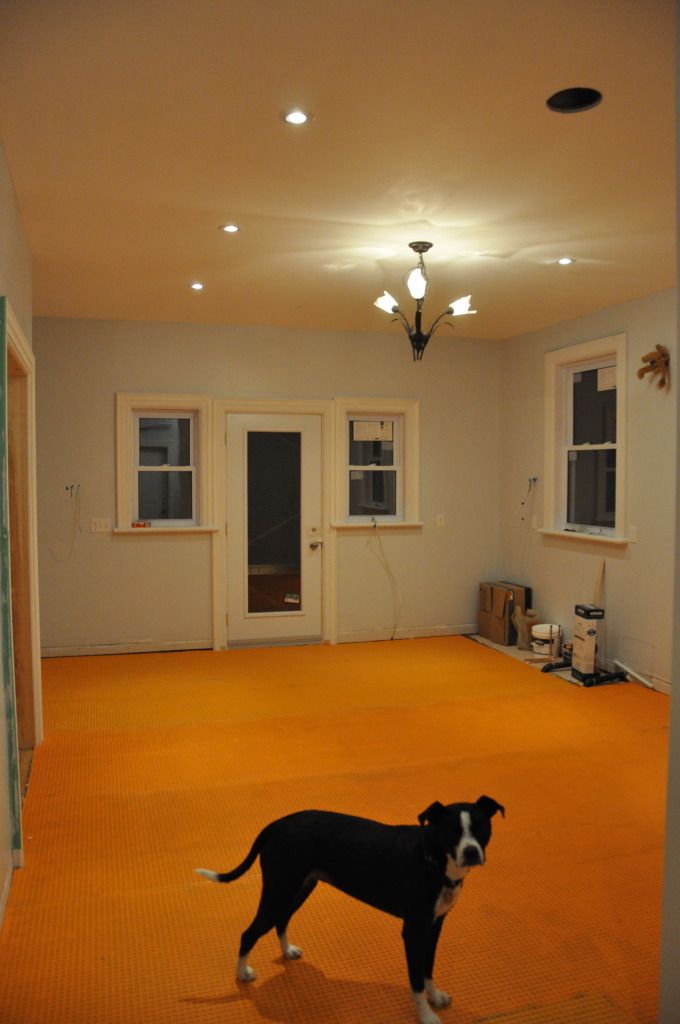
A few days later the tile gets installed:
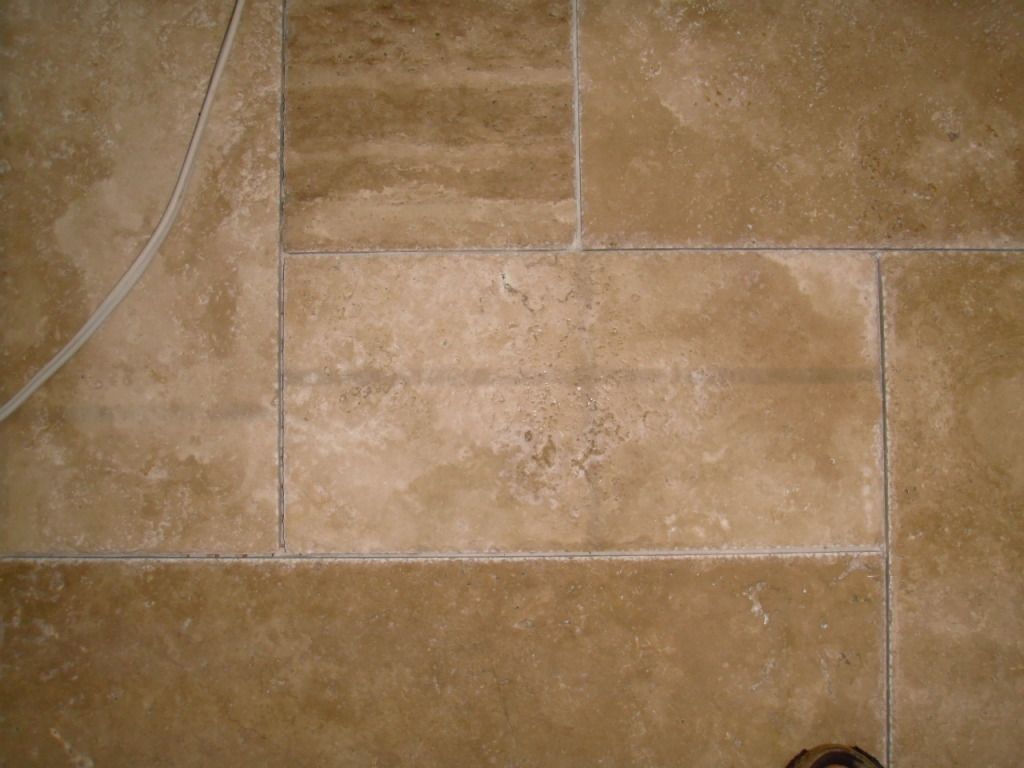
 Looks great right? Until we look a little closer...


Yup marks on our beautiful... installed... tile floor, over 50% of the tiles have these marks. Great! Call Home Depot, they give us some options for cleaning it, nothing touched it at all. Finally the tile company, Anatolia Tile, stepped up to have the tile professionally 'cleaned' which actually meant they had the stains (apparently from coloured straps on the tile bundles)  ground off the tiles. So now most of the marks are mostly gone, but the surface of many of  the tiles is no longer the same. We are hoping that once the tiles are sealed that the difference in the tiles will be less obvious. I'm working on sealing the tiles in the master bath tonight so I will hold off on my call to the tile company until that project is complete... wish me luck!

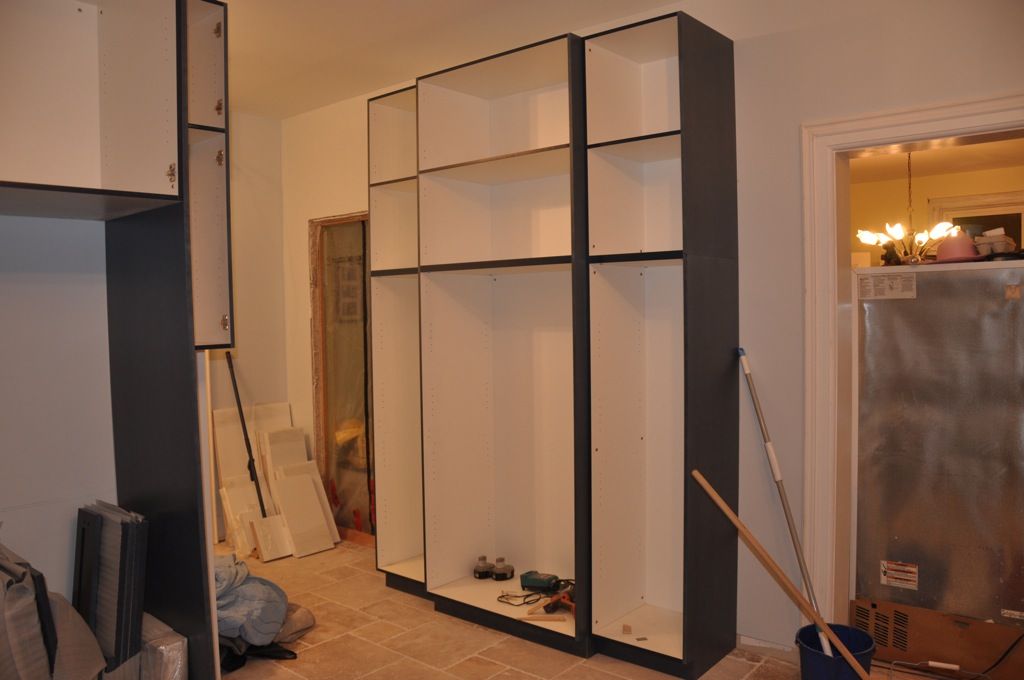
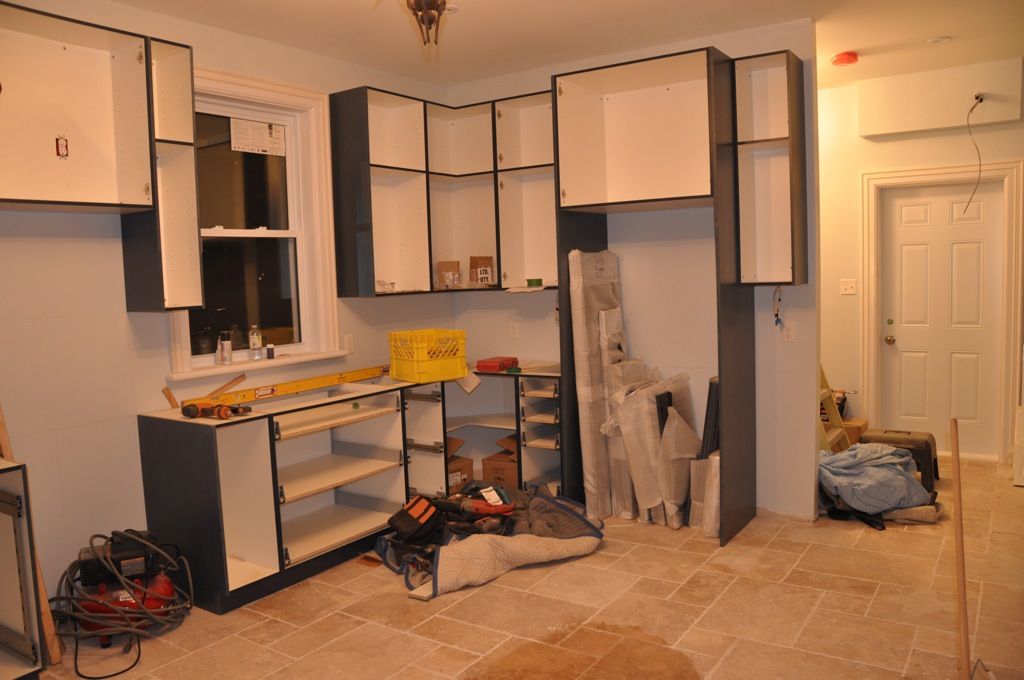
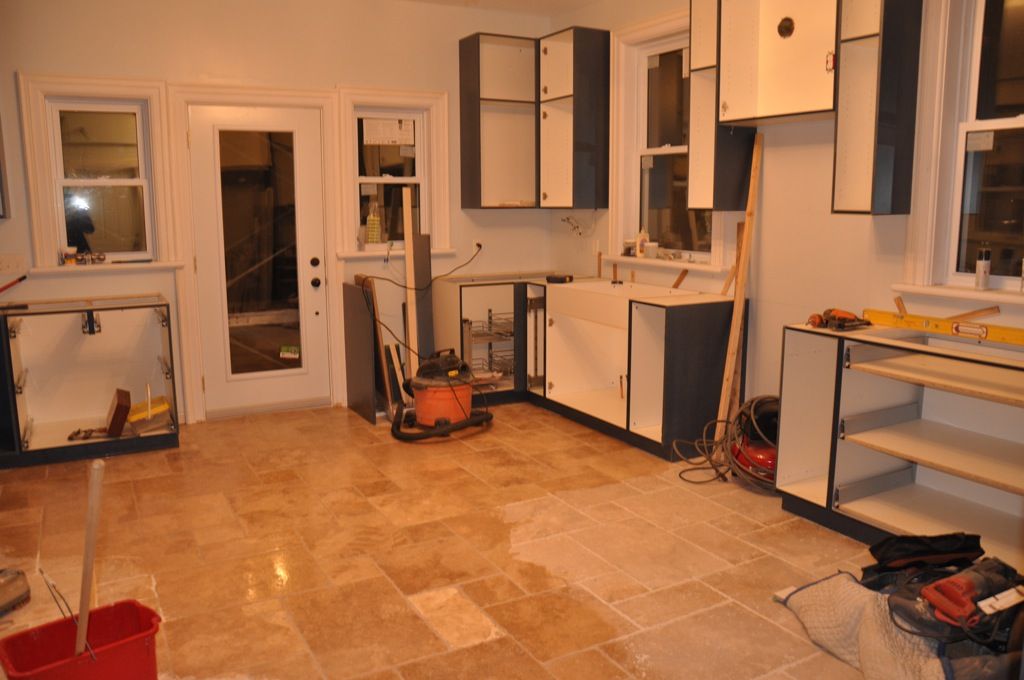
On the bright side - we now have cabinets! All the boxes are here and the doors will be here tomorrow, the custom colour and finish looks great. They got all the upper cabinets installed today and will be working on the lowers tomorrow - woohoo! I'll try and get pictures tomorrow.

Monday, October 3, 2011

First night time pictures.

Yup, that's right these update pictures were taken in the night... because we now have power and lighting installed in the addition. Today the hardwood floor was finished in the bedroom and closet, all the electrical was installed and the ditra tile underlay was installed on the first floor. Was a busy and productive day.

Over the weekend we choose and bought most of the lights, we chose to go with xenon lights in most locations, they are an alternative to halogen, they don't get quite as hot and they last longer than halogen bulbs. The kitchen and dining room chandeliers and the closet light are the only non xenon lights we installed.

On to the pictures:
Entry from garage, wood door is to the powder room.
Kitchen - Ditra installed

There are matching chandeliers in the kitchen (above) and dining room (below). I had actually seen these at Home Depot well over a year ago and loved them, but when we were getting close to needing them I couldn't find them any more. When my mom and dad were here last we stopped into the Habitat for Humanity ReStore in Oshawa and what did we see but these lights - and they were on sale! SO for $75 we got both the larger and smaller one - score!

Dining room chandelier
Ignore the mess please, the dining room is our catchall during this reno and houses our very basic kitchen set up.


The second floor:
Master bedroom, hardwood finished - temporary fan/light
Master bath - Tiled shower
Above is the tiled section of the shower, the fibreglass base is under the plywood - this will have a custom glass enclosure. Custom was required due to the slanted knee wall.


That's all for today - I'll try and keep the blog up with the fast pace of the next few days, this week has them getting ready for the kitchen cabinets (being delivered next week) and getting our heating installed - the boiler has been installed since June but we still need to install new rads to get rid of the horribly ugly old baseboard rads. That should be done just in time for the temps to climb back into the 20's  - Murphy's Law.

I can see the end from here I think! Whoohoo!